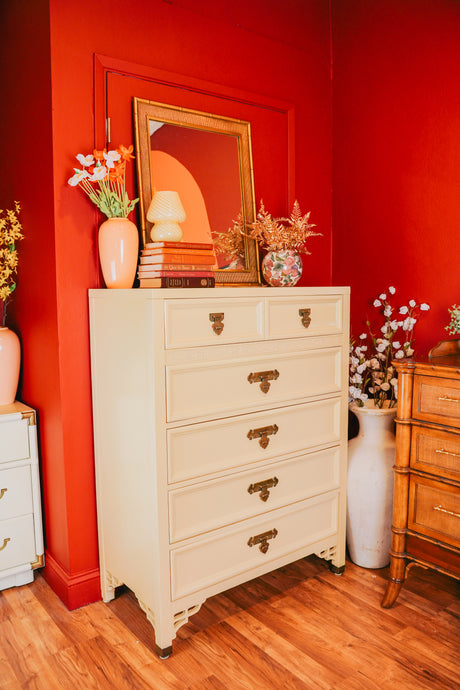
Step-by-Step Tutorial for Upcycling Vintage Wooden Dressers

Do you have an old wooden dresser that you want to breathe new life into? Upcycling vintage wooden dressers is a fun and creative way to transform your furniture into a unique and personalized piece for your home. Whether you're looking to modernize its look or restore its original charm, this step-by-step tutorial will guide you through the process of upcycling your vintage wooden dresser.
Materials Needed
Before you begin, gather the following materials:
- Sandpaper (medium and fine grit)
- Paint or wood stain
- Paintbrushes or foam rollers
- Primer (if needed)
- Drop cloth or old sheets
- Protective gear (gloves, mask, goggles)
- Screwdriver (if hardware needs to be removed)
- New hardware (optional)
Preparation
Follow these steps to prepare your vintage wooden dresser for upcycling:
- Remove any hardware such as knobs, handles, or drawer pulls from the dresser.
- Place the dresser on top of a drop cloth or old sheets to protect your workspace.
- Use medium-grit sandpaper to sand the entire surface of the dresser to remove any existing finish or paint.
- Wipe down the dresser with a damp cloth to remove any dust or debris.
- If necessary, apply a coat of primer to the dresser to create a smooth base for painting or staining.
Painting or Staining
Decide whether you want to paint or stain your vintage wooden dresser:
- If you choose to paint, select a high-quality paint in the color of your choice. Use a paintbrush or foam roller to apply an even coat of paint to the dresser. Allow the paint to dry completely before applying additional coats if needed.
- If you prefer to stain the dresser, choose a wood stain that complements the natural grain of the wood. Apply the stain with a clean cloth or brush in the direction of the grain. Allow the stain to penetrate the wood for the recommended time before wiping off any excess.
Finishing Touches
Complete your upcycled vintage wooden dresser with these finishing touches:
- If you removed hardware, replace it with new knobs, handles, or drawer pulls to enhance the dresser's new look.
- Add a coat of clear sealer or varnish to protect the painted or stained finish and provide durability.
- Consider adding decorative elements such as stenciling, decoupage, or distressing for a personalized touch.
- Let the dresser dry and cure completely before moving it back into your space and enjoying your upcycled creation.
Tips and Tricks
Here are some additional tips and tricks to help you upcycle your vintage wooden dresser:
- Experiment with different paint colors or stain techniques to achieve the desired look for your dresser.
- Use a sanding block or electric sander to speed up the sanding process and achieve a smoother finish.
- Protect your work surface and wear protective gear to ensure a safe and clean upcycling experience.
- Take your time and work in a well-ventilated area to allow paint or stain fumes to dissipate.
Conclusion
Upcycling vintage wooden dressers is a rewarding way to give new life to old furniture and unleash your creativity. By following this step-by-step tutorial and incorporating your own personal touch, you can transform a dated dresser into a stylish and unique piece for your home. Whether you choose to paint, stain, or add decorative elements, upcycling your vintage wooden dresser is a fun and sustainable way to refresh your space.