The Ultimate Guide to Installing Home Security Cameras

Installing home security cameras is a great way to enhance the safety and security of your home. Whether you want to keep an eye on your property while you're away or monitor your family's safety while you're at home, security cameras can provide peace of mind and deter potential intruders. In this ultimate guide, we will walk you through the steps to successfully install home security cameras.
Choosing the Right Security Cameras
Considerations:
- Determine the areas you want to monitor: Identify the key locations around your home that you want to keep an eye on.
- Indoor vs. outdoor cameras: Decide whether you need cameras for indoor surveillance, outdoor monitoring, or both.
- Resolution and image quality: Choose cameras with high resolution for clear video recording.
- Field of view: Consider the viewing angle of the cameras to ensure proper coverage.
- Connectivity: Decide between wired and wireless cameras based on your preferences and needs.
Placement of Security Cameras
Tips for Placement:
- Front door: Install a camera facing your front door to monitor visitors and package deliveries.
- Backyard: Place cameras in your backyard to keep an eye on outdoor activities and potential intruders.
- Garage and driveway: Monitor your garage and driveway with cameras to enhance security.
- Common areas: Install cameras in common areas like the living room or kitchen for overall surveillance.
- Elevated positions: Mount cameras in elevated positions to get a better view and prevent tampering.
Installation Process
Step-by-Step Guide:
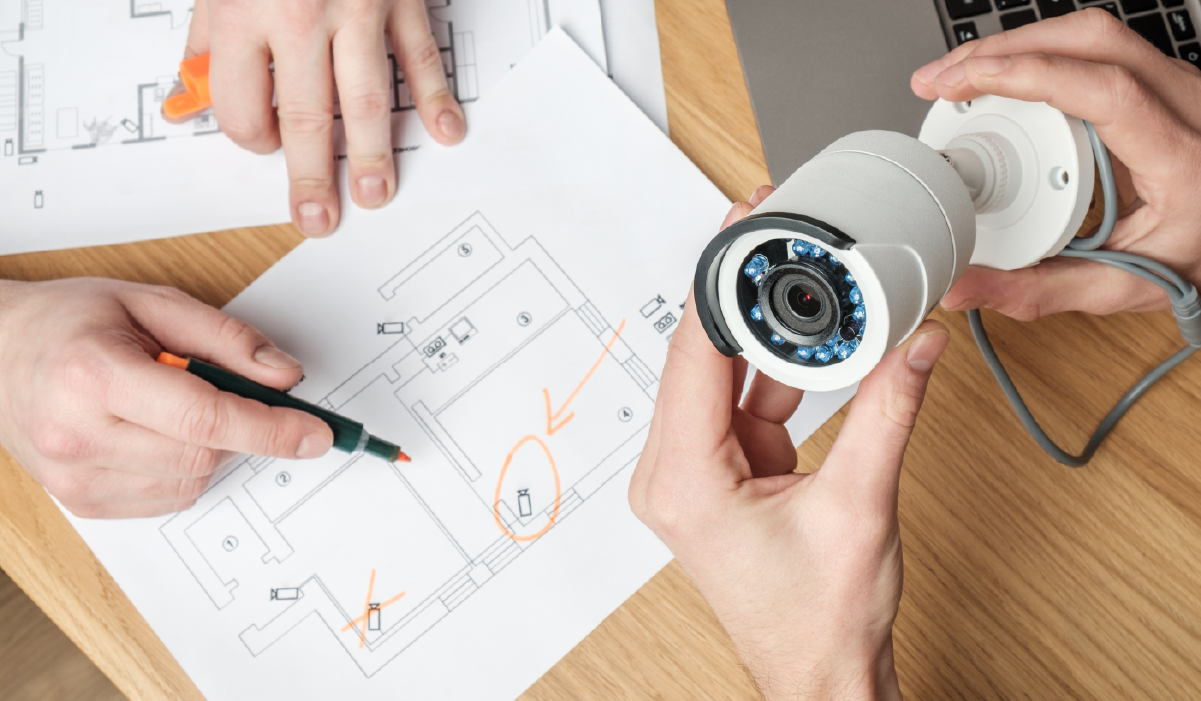
- Plan the camera locations: Map out where you want to install each camera for optimal coverage.
- Install mounting brackets: Use brackets to securely attach the cameras to walls, ceilings, or other surfaces.
- Connect the cameras: Follow the manufacturer's instructions to connect the cameras to power sources and the recording device.
- Adjust camera angles: Position the cameras to capture the desired areas and adjust the angles for optimal viewing.
- Test the system: Ensure that the cameras are functioning properly and adjust settings as needed.
Connecting to a Monitoring System
Options for Monitoring:
- Local storage: Save video footage on a local storage device like a DVR or NVR.
- Cloud storage: Store recordings in the cloud for easy access and remote viewing.
- Mobile app: Use a mobile app to monitor your cameras remotely and receive alerts on your smartphone.
- Professional monitoring: Consider a professional monitoring service for added security and peace of mind.
Maintaining Your Security Cameras
Tips for Maintenance:
- Regular cleaning: Keep the camera lenses clean to ensure clear video quality.
- Check for obstructions: Regularly inspect the camera views for any obstructions that could affect visibility.
- Update software: Stay up to date with firmware updates to ensure optimal performance.
- Inspect wiring: Check the wiring connections to prevent any issues with power or connectivity.
- Professional servicing: Consider professional servicing for maintenance and repairs when needed.
Conclusion
Installing home security cameras is a valuable investment in the safety and security of your home. By choosing the right cameras, placing them strategically, following the installation process, connecting to a monitoring system, and maintaining your cameras properly, you can enhance your home's security and have peace of mind knowing that you can monitor your property at all times.